01Complete initial setup
Business profile, schedule, catalog, and team.
- Confirm the business type and time zone in Settings → Business.
- Add providers and assign the services each person performs.
- Set business and provider availability for online booking.
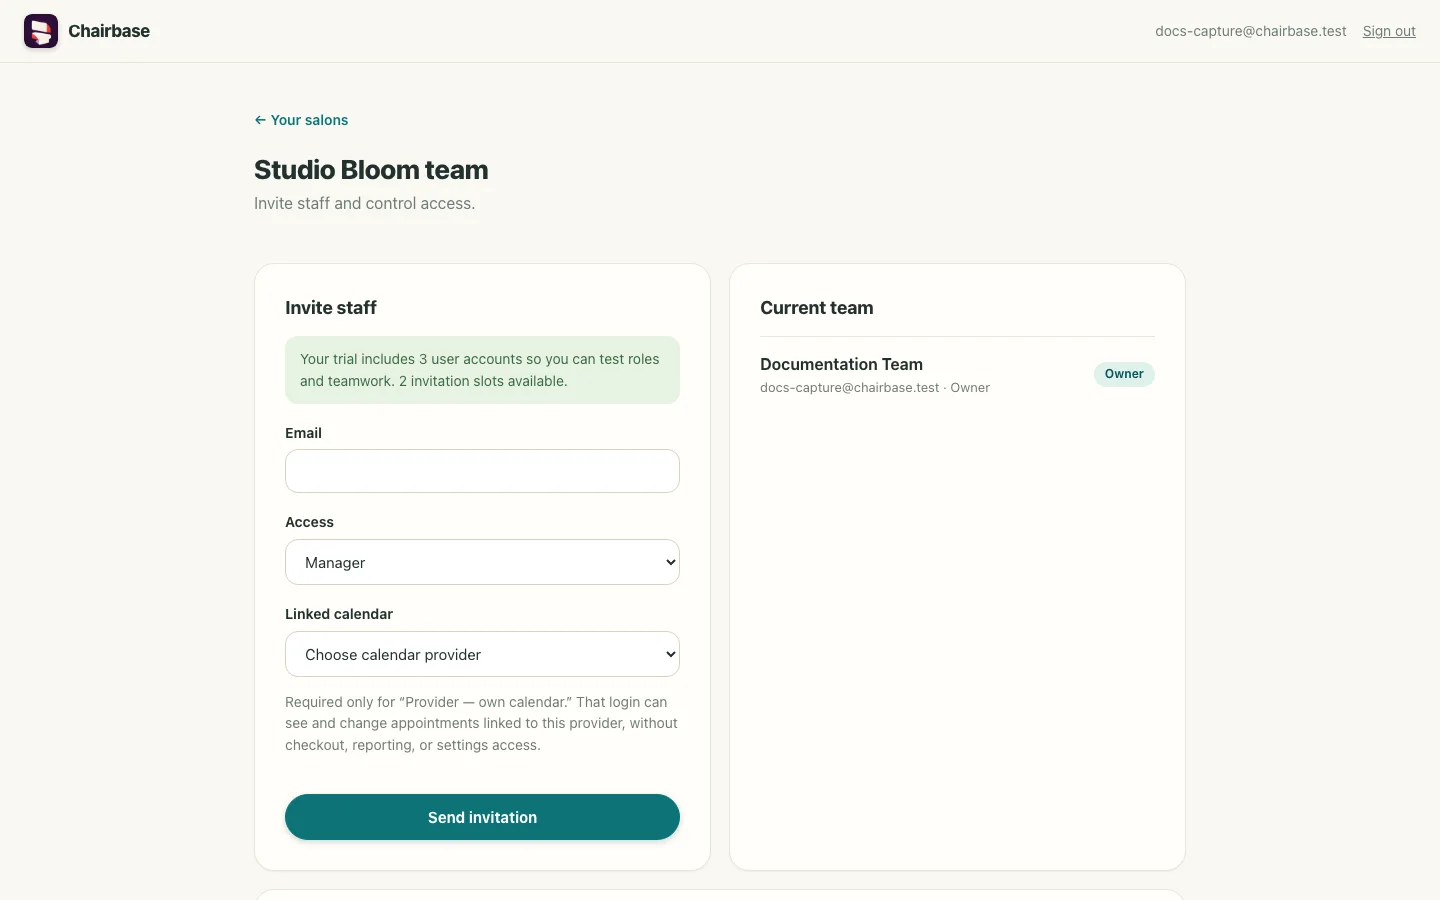
- Invite teammates from Team and test each role before launch.
Trials include three user accounts so an owner can evaluate teamwork and permissions with two teammates.
Sign in to open Business settings →
02Publish online booking
Control what customers can book and when.
- Open Settings → Booking and enable online booking.
- Set hours, lead time, cancellation policy, and optional deposit rules.
- Confirm that each public service and provider has availability.
- Copy the booking link or website embed and make a test booking.
Sign in to open Booking settings →
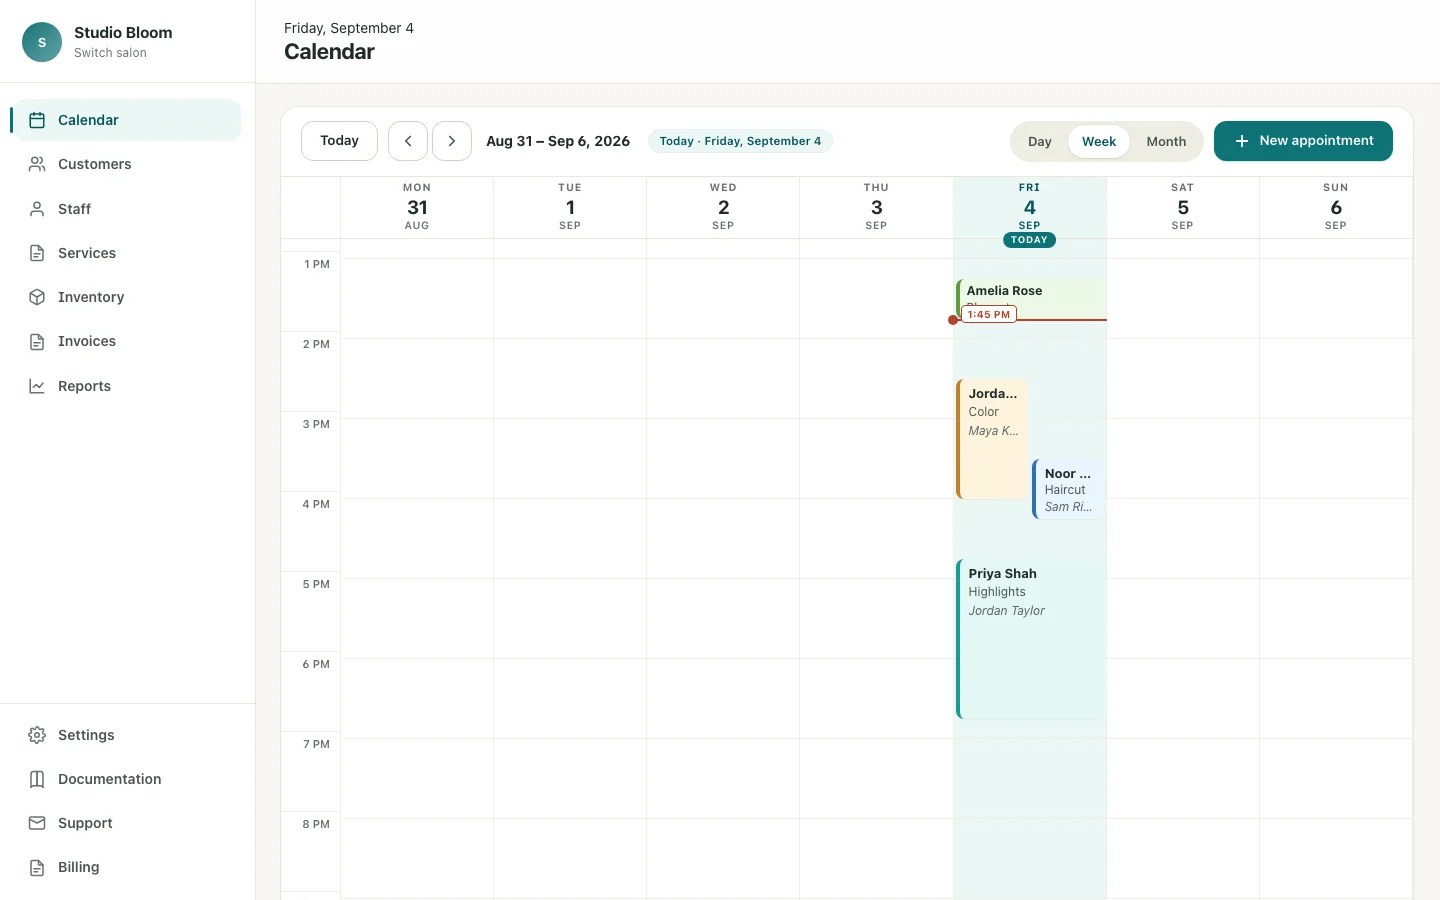
03Manage appointments
Create, move, resize, complete, or reopen.
- Select an open calendar time to create an appointment.
- Choose the customer, provider, service, start time, and notes.
- Drag an appointment to reschedule it or use its edge to adjust duration.
- Open the appointment to mark it complete, no-show, cancelled, or reopened.
Sign in to open Calendar →
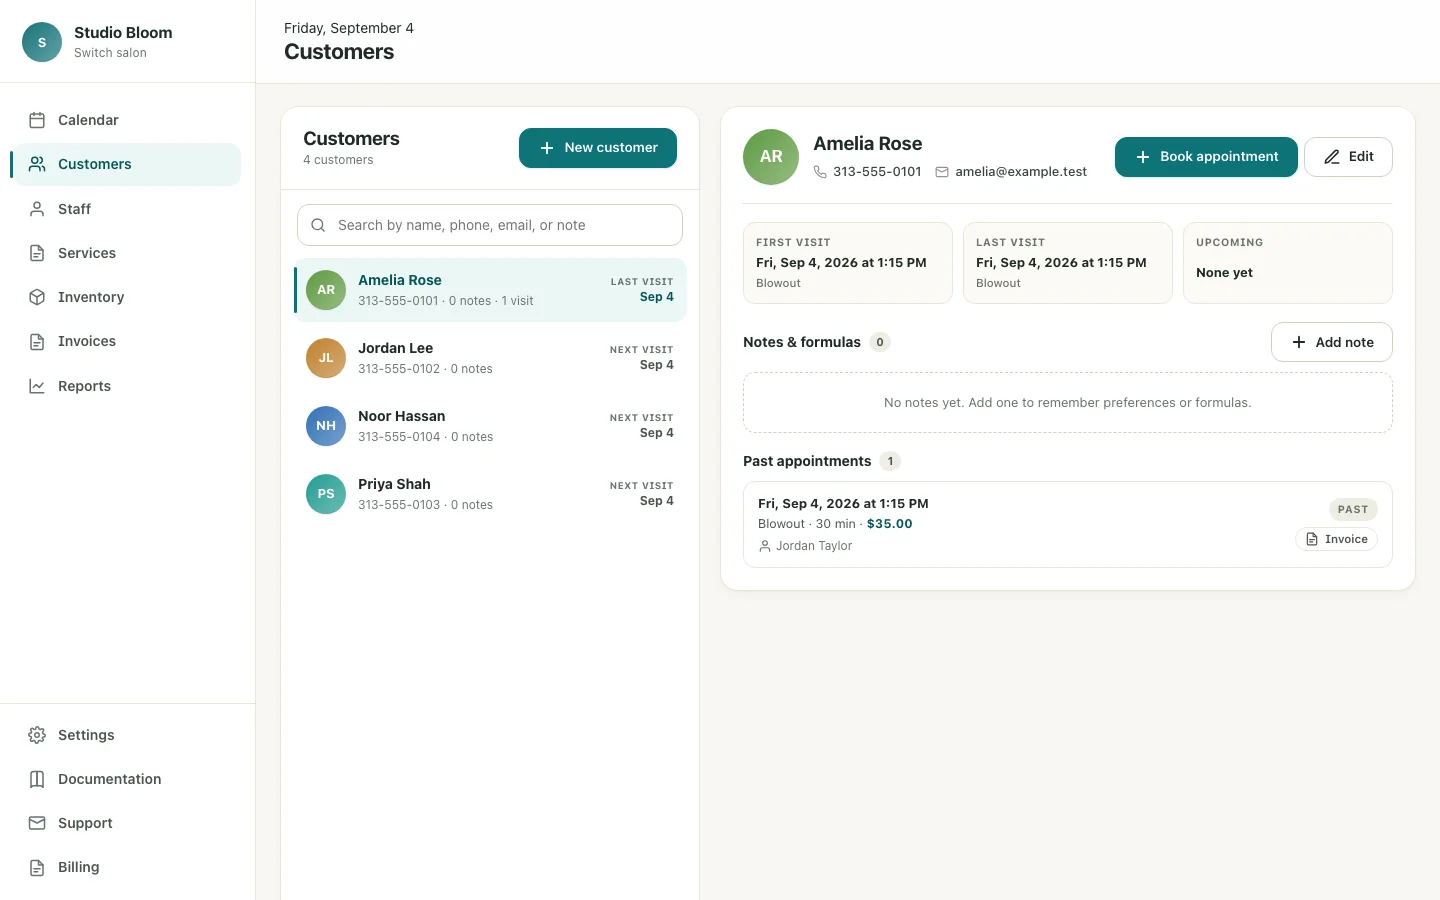
04Maintain customer records
Contact details, notes, consent, and history.
- Use Customers to find or create a profile.
- Record contact details, preferences, notes, and SMS consent accurately.
- Review visit and invoice history before booking the next service.
- Use the profile action to start a new appointment for that customer.
Sign in to open Customers →
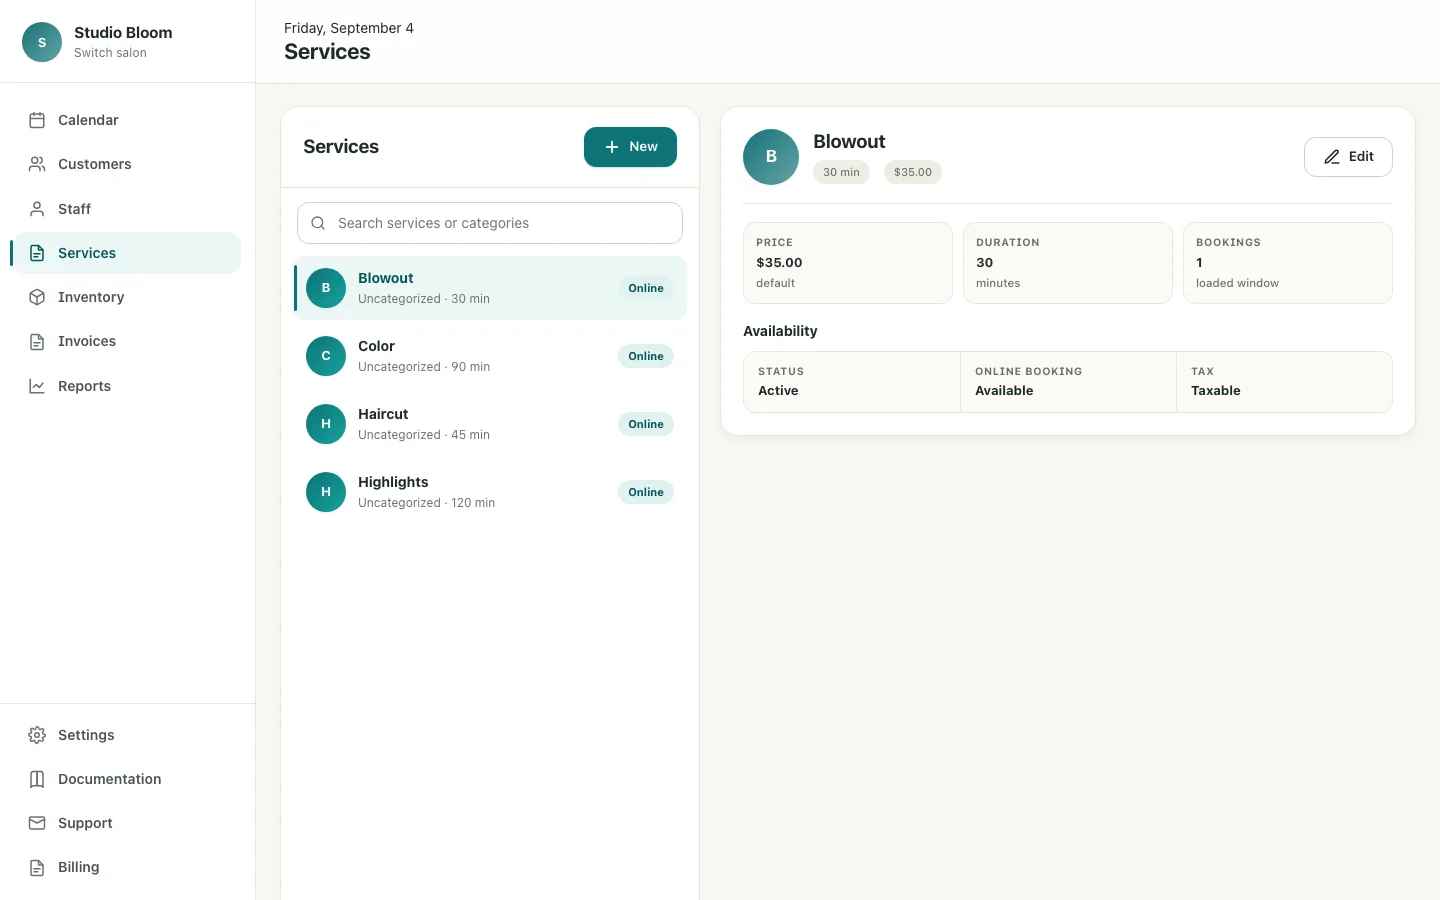
05Manage the service catalog
Names, categories, duration, price, tax, and availability.
- Open Services and choose New.
- Enter the service name, category, duration, and default price.
- Choose whether the service is active, taxable, and available online.
- Select an existing service and use Edit whenever its defaults change.
Sign in to open Services →
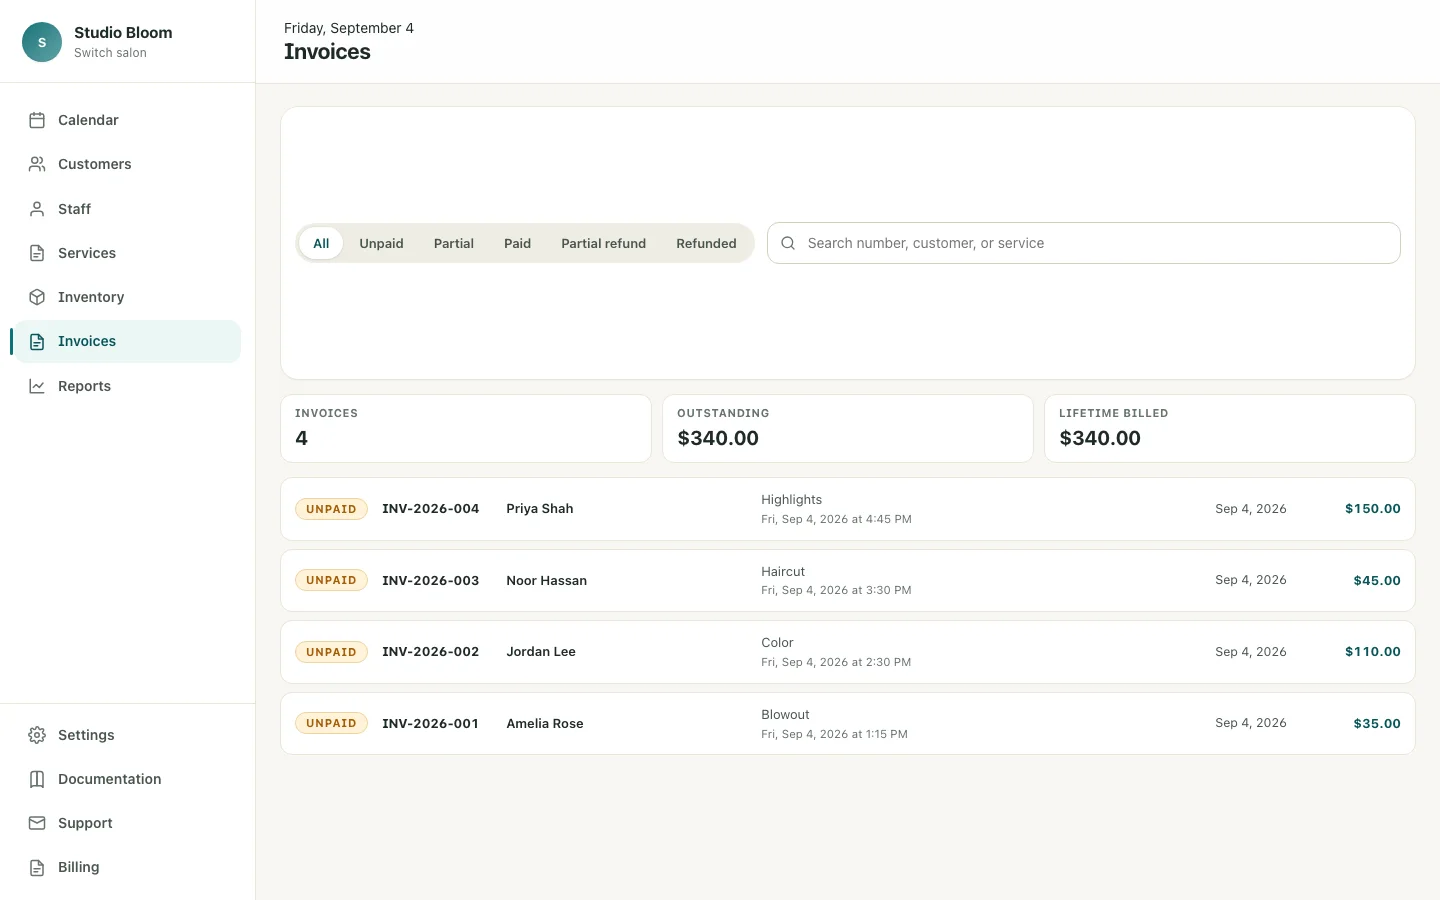
06Checkout and refunds
Services, retail, discounts, tips, payments, and money back.
- Open the appointment or invoice and review service charges.
- Add retail items, then apply any authorized discount and tip.
- Record each payment method and amount; Chairbase keeps the remaining balance visible.
- Use the payment history to issue a full or partial refund and retain the audit trail.
Before closing: confirm quantities, tax, discount, tip, payment method, and customer.
Sign in to open Invoices and checkout →
07Roles and provider-linked accounts
Owner, manager, front desk, read-only, and own-calendar access.
- Owners and managers invite users from Team.
- Choose the smallest role that fits the person’s responsibilities.
- Link a provider account to its provider record for own-calendar access.
- Use Activity to review sensitive administrative changes.
Providers can appear on the calendar without a login. Add an account only when that person needs to sign in.
Sign in to open Team permissions →
08Locations and physical resources
Rooms, stations, bays, equipment, and conflict protection.
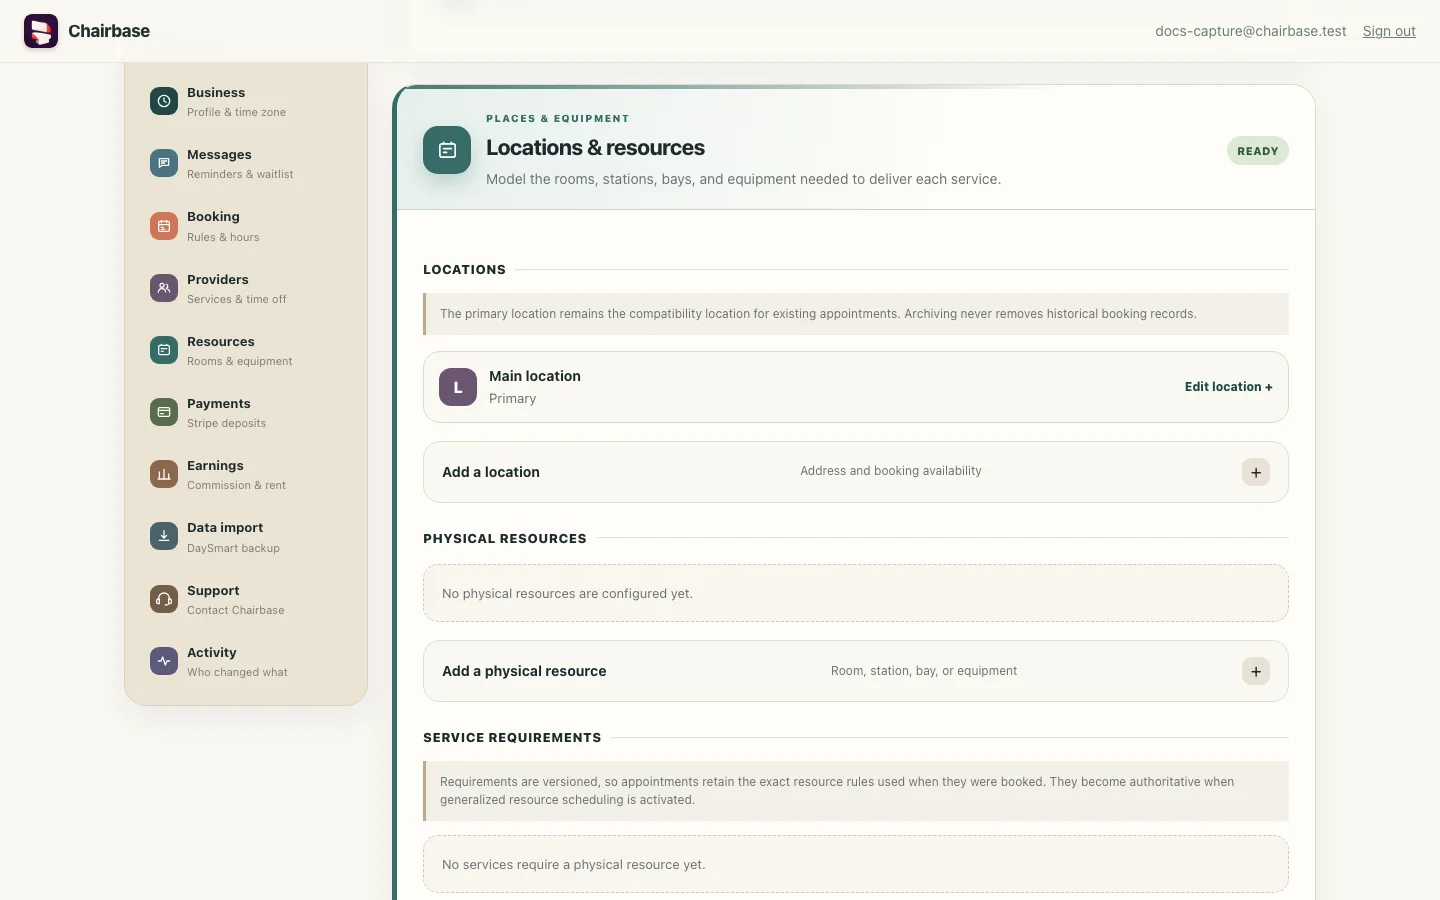
- Add locations and their hours in Settings → Resources.
- Add every limited room, station, bay, or piece of equipment.
- Attach resource requirements and setup or cleanup buffers to services.
- Let automatic allocation prevent the same required resource from being booked twice.
New workspaces start with conflict protection active. Requirements take effect as resources are configured.
Sign in to open Resource settings →
09Inventory and retail sales
Stock levels, reorder points, costs, and checkout quantities.
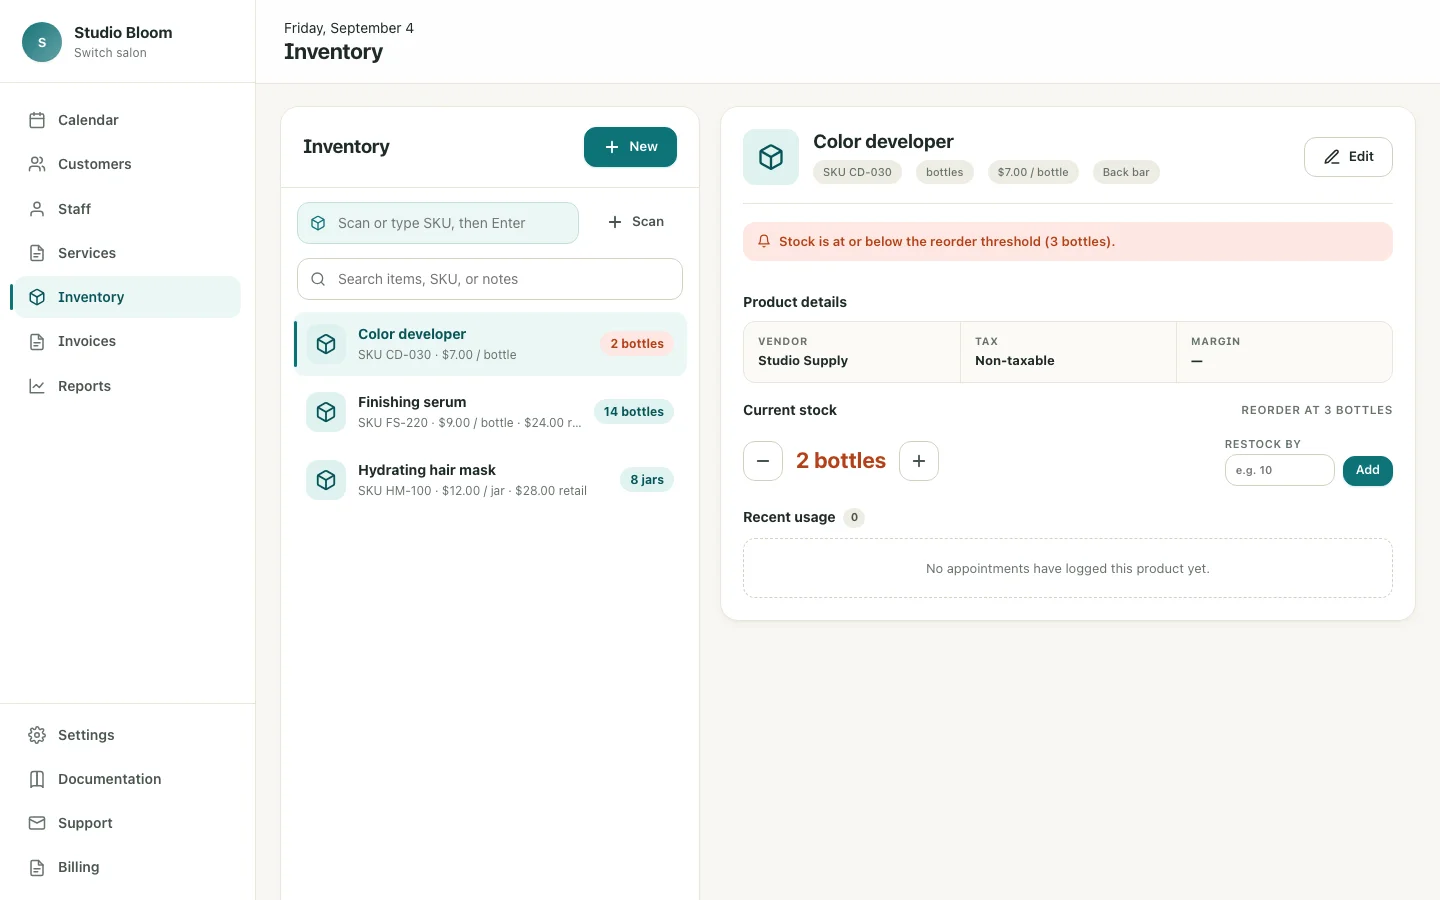
- Add products in Inventory with price, cost, quantity, and reorder level.
- Correct counts when stock is received, used, damaged, or recounted.
- Add products during checkout; completed retail sales reduce stock automatically.
- Review low-stock items before ordering.
Sign in to open Inventory →
10Reports and earnings
Business, sales, customer, team, inventory, and compensation views.
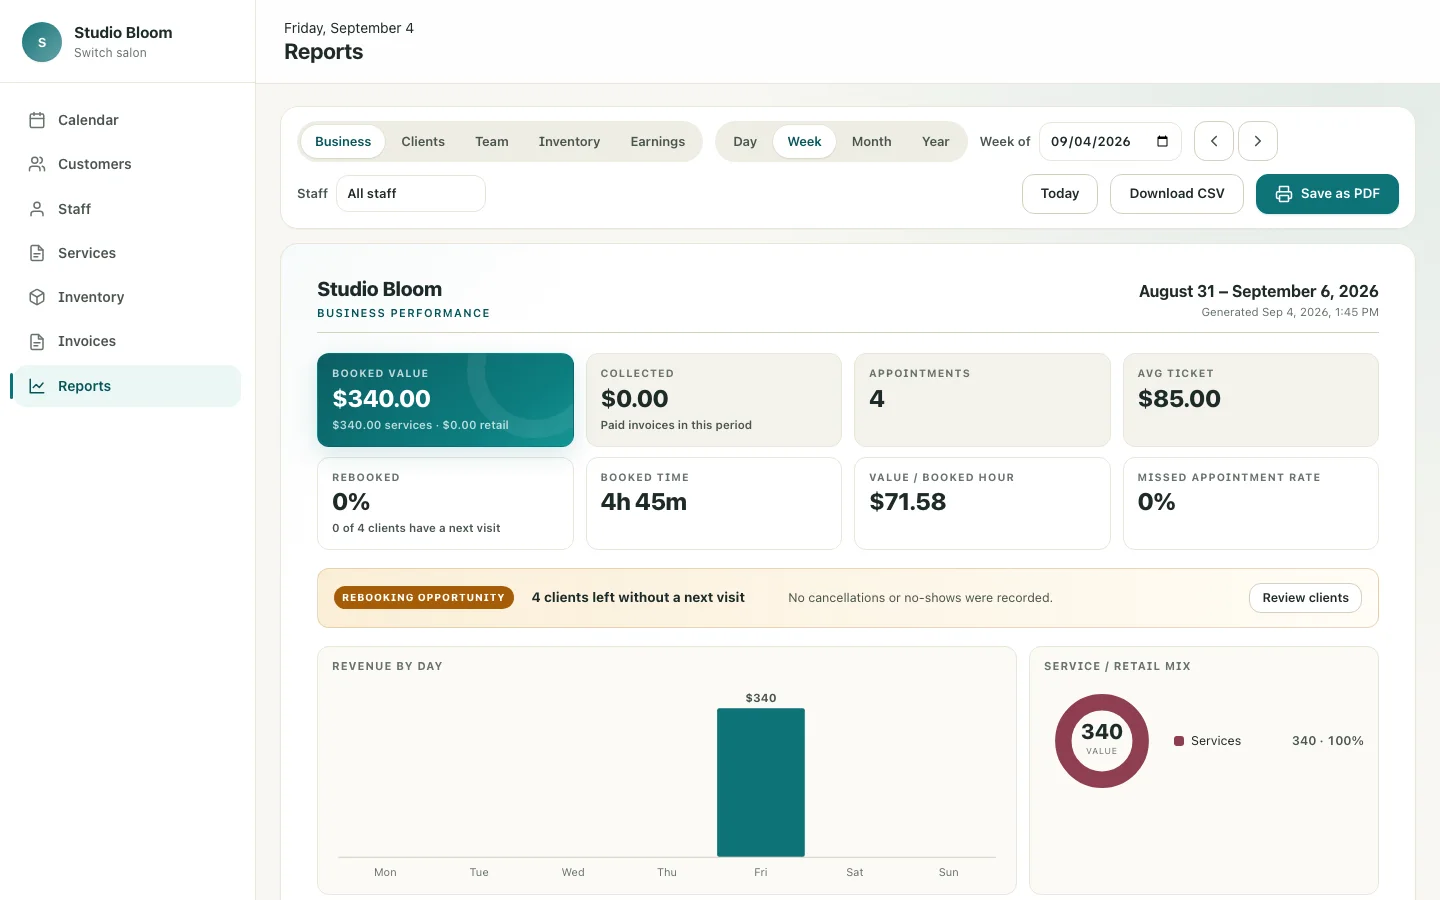
- Open Reports and select a report type and period.
- Use Sales to reconcile net sales, collections, refunds, discounts, taxes, tips, and outstanding balances.
- Filter Business and Customer reports by provider when needed.
- Configure commission, booth-rent, or hybrid rules in Settings → Earnings.
- Download CSV or save any report as PDF for further review.
Sign in to open Reports →
11Import from DaySmart
Preview first, then move records without duplicates.
- Open Settings → Data import and upload the supported DaySmart backup.
- Review the read-only preview and resolve any warnings.
- Start the import and leave the source DaySmart database untouched.
- Re-running the same import will not create duplicate records.
Sign in to open DaySmart import →
12Billing and support
Subscription controls and workspace-scoped conversations.
- Workspace owners manage the plan and paid login count from Billing.
- Open Support to ask a question or report a problem.
- Include what you expected, what happened, and the affected date or record.
- Return to the same support request to reply or mark it resolved.
Sign in to open Billing →
Sign in to open Support →
Frequently askedCommon questions
Who needs a paid login?
Only people who sign in need an account. Providers may remain calendar-only records, while front-desk staff, managers, and owners use individual logins for clear permissions and activity history.
Why can’t I see a setting or report?
Features follow both the workspace’s business profile and your assigned role. Ask an owner or manager to confirm your permissions and whether that capability is enabled for the workspace.
How do I protect against double-booking a room or device?
Add the room or equipment as a physical resource, then add a requirement to every service that needs it. Chairbase checks provider and required-resource availability together.
Can I keep working during an internet outage?
Yes. While connected, open Offline desk in the front-desk sidebar on your designated device. Choose a local passphrase and wait for the download to finish. The desk downloads the next 14 days of visits, their client details and notes, tickets, and service prices. Refresh before an outage and at least every 72 hours.
During an outage, reopen your workspace or Offline desk and unlock it. You can check clients in, add client and ticket notes, record cash received, and save provisional new bookings or reschedules. Only downloaded clients and appointments are available. Card processing, refunds, drawer controls, messages, and workspace settings require connectivity.
Keep this desk open and unlocked when reconnecting so pending changes synchronize. Sign in as the account that prepared the device if prompted. Conflicts stay in Pending changes & review; compare them with the live workspace before marking them resolved. Cash retries do not create duplicate payments. New bookings are not confirmed until synchronization succeeds.
The passphrase encrypts downloaded records and cannot be recovered. The desk locks after five minutes of inactivity. Do not clear browser data with pending changes. Only one device and account can be designated per workspace; an owner or manager can replace a lost device, after recovering its pending changes if possible.
Where should I ask for help?
Signed-in members can open Documentation beneath Settings, then use Support for a workspace-specific conversation. You can also email support@chairbase.studio.
No guides match that search. Try a feature name such as “checkout,” “calendar,” or “permissions.”